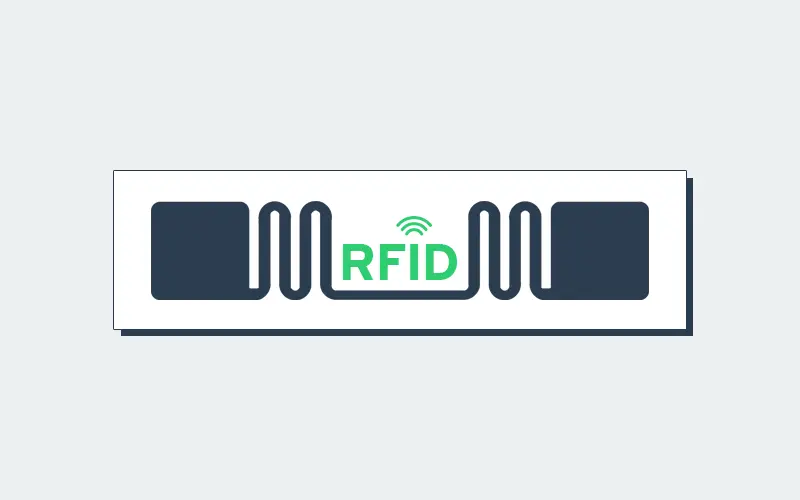
As operations grow faster and more complex, traditional labeling methods fall behind operational demands. Manual barcode scans slow workflows, create data gaps, and leave businesses reacting to problems instead of preventing them. RFID labels solve this problem by enabling automatic, real-time identification of items—without line-of-sight scanning.
In fact, studies consistently show RFID delivers inventory accuracy rates above 95%, compared to 60–70% for manual or barcode-based processes.
From warehouses and manufacturing floors to healthcare and retail, RFID labels have become a critical tool for optimizing operations. They reduce labor, eliminate blind spots, and provide instant visibility into where assets, inventory, and products are at any moment. Understanding how to properly create RFID labels is the first step toward unlocking faster processes, better data, and a more resilient operation.
Why Add RFID to Your Supply Chain
RFID technology removes many of the limitations of traditional barcode-based tracking. Unlike barcodes, RFID labels don’t require line-of-sight scanning and can be read automatically in bulk, even as items move through doors, conveyors, or workstations.
This allows businesses to capture data in real time without slowing down operations.
The result is higher inventory accuracy, reduced labor, and better visibility across the entire operation. With RFID, teams spend less time scanning and searching, errors are caught earlier, and assets are less likely to be lost or misplaced. For organizations focused on speed, accuracy, and scalability, RFID isn’t just a convenience—it’s a foundational technology for optimizing modern operations.
The Power of RFID
RFID gives businesses real-time, automatic tracking without manual scans. Instead of counting items by hand, RFID systems capture data on multiple tags simultaneously as products move through a facility—streamlining workflows and cutting errors. In real-world deployments, studies show RFID can increase inventory accuracy by up to 13% compared with traditional tracking methods.
What are RFID Labels?
RFID labels are a type of labeling or tagging system that incorporates Radio-Frequency Identification (RFID) technology. These labels are designed to store and transmit data wirelessly through RFID technology.
An RFID label typically consists of three main components:
RFID Chip
The RFID chip is a small electronic component that stores information. It can be passive (drawing power from the RFID reader’s signal) or active (having its own power source) and contains a unique identifier or data relevant to the labeled item.
Antenna
The antenna is connected to the RFID chip and is responsible for transmitting and receiving radio waves that power the chip and allow it to communicate with RFID readers. Antennas come in various shapes and sizes, depending on the label’s intended use.
Label Material
The label material is the physical part of the RFID label that adheres to or is embedded within an object. It can be a sticker, tag, or even embedded within a product’s packaging or structure. The label material protects the RFID components and ensures they stay attached to the item.

Industries and Use Cases for RFID Labels
RFID labels are commonly used in various industries for tracking and managing inventory, assets, and products. They offer advantages over traditional barcode labels, such as the ability to read multiple tags simultaneously, read tags without direct line-of-sight, and store more data.
Organizations use RFID labels across applications ranging from supply chain management to asset tracking.
Manufacturing and Production
In manufacturing, RFID labels help track work-in-progress items, tools, and materials through each stage of production. They enable just-in-time assembly, reduce manual scanning, and prevent mix-ups between components or product variants.
Retail and Apparel
Retailers use RFID labels to maintain accurate, real-time inventory counts across stores and distribution centers. This eliminates costly stock discrepancies, enables faster cycle counts, and supports omnichannel fulfillment. Major brands also use RFID labels for loss prevention and customer experience enhancements like smart fitting rooms.
Healthcare and Pharmaceuticals
Hospitals and medical suppliers use RFID labels to track equipment, medication, and specimens. RFID ensures critical items are always available, properly identified, and stored under safe conditions. For pharmaceuticals, RFID enhances serialization and helps prevent counterfeit products from entering the supply chain.
Warehousing and Supply Chain
In logistics and warehousing, RFID labels streamline the movement of goods by automating receiving, picking, and shipping. They make it possible to scan entire pallets or truckloads of items instantly — reducing human error, improving traceability, and ensuring regulatory compliance.
How to Add RFID Tags to Your Labels
Create RFID Labels with MarkMagic
Creating effective RFID labels requires more than just the right tag—it demands accurate data, flexible design tools, and reliable printing. MarkMagic simplifies the entire process by allowing organizations to design, encode, and print RFID labels from a single platform. With support for variable data, EPC encoding, barcodes, and human-readable text,
MarkMagic RFID Quick Comply Add-On →
MarkMagic ensures every RFID label is accurate, compliant, and ready for real-world use. Whether you’re labeling inventory, assets, or shipments, MarkMagic gives teams the control and confidence they need to deploy RFID labels at scale and keep operations running smoothly.
Interested in RFID?
An RFID tracking system can help organizations of all sizes improve their supply chain efficiency. Contact the CYBRA team to schedule a demo today.


