
The ability of 2D bar codes such as PDF417 and UPS MaxiCode to encode up to 2,000 characters presents a formatting challenge: how to link to dozens of source fields without defining each source field one at a time. Here's how to add a range of source fields in JMagic and MarkMagic.
How To Add a Range of Source Fields in JMagic
If you have not done so already, create a new format, or open an existing format. Make sure that the source fields to which you want to link (data, text, and/or bar code) are created before you create the *LINK field. Once the *LINK Bar code or Text field is created, you cannot change or delete the source field(s) to which you are linked, unless you delete the *LINK field. In order to create a *LINK field in JMagic, you must first define your source fields.
- Click the BarCode or Text Field Button. This will open the appropriate New Field Window.
- In the Field Name, select *LINK from the drop-down menu. This will make the Link Fields Tab available for editing.
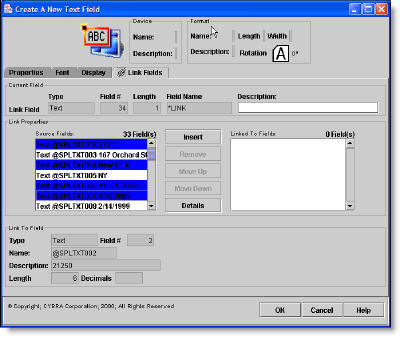
- In the Source Fields List, select the field that you defined prior to starting the linked field definition. Hold down the Control Key and click on additional fields to select the range.
- Click on the Insert Button. This will add the fields to the Linked to Fields List.Complete the *LINK field definition by clicking the OK button.
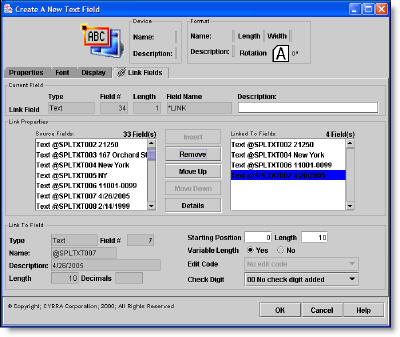
Complete the *LINK field definition by clicking the OK button.
How To Add a Range of Source Fields in MarkMagic
If you have not done so already, create a new format, or open an existing format. Make sure that the source fields to which you want to link (data, text, and/or bar code) are created before you create the *LINK field. Once the *LINK Bar code or Text field is created, you cannot change or delete the source field(s) to which you are linked unless you delete the *LINK field.
- Start MarkMagic and select a User Library.
- Create a New Format or Open an existing format.
- Press F6 to create a Text or Bar Code Field.
- On the field name parameter of a Work with... field screen, type *LINK and press Enter.
- Press F6 to Add a Source Field link, and the Select a Field window is displayed.
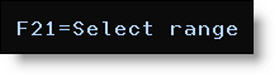
- Position the cursor at the first source field you wish to link to and press F21 (Select range). The first source field is highlighted.
- Place cursor at the end of the range of source fields you wish to link to and press ENTER. The Work with *LINK Source Fields screen is displayed with all the selected source fields now linked.
- To complete the bar code or text field definition, PAGE BACKWARD to return to the Work with Bar Code Field or Work with Text Field screen and supply the required parameters based on the features supported by your printer type.
- Press ENTER to complete the *LINK field definition.
The field will appear on the Design a Format screen marked =*L:field description. Once you have returned to the Work with... field definition screen, you cannot modify the total field length of a *LINK field. If the field length is wrong you will need to PAGE FORWARD to return to the Work with *LINK Source Fields screen and change the source field lengths. Depending on the field length, text font or bar code type selected, and zoom factor, the entire =*L:field description indicator may not appear on the Design a Format screen. To display the indicator legibly it may be necessary to zoom in for a greater degree of magnification.