MarkMagic and the One-Piece Scan, Print & Apply Paxar Monarch Pathfinder Ultra—the Most Efficient Labeling System Ever Invented
Looking to reclaim labor hours you spend doing receiving and other labeling tasks? Here’s how to use MarkMagic and the innovative Monarch Pathfinder Ultra Printer for labeling applications such as markdowns, item identification, cross docking, carton routing, UPC printing, and other consumer goods manufacturing and retailing needs.
Once you see how easy it is to scan, print, and apply with one hand, you’ll come up with many applications that the Ultra will be a real timesaver.
Configuring the Pathfinder Ultra for use with MarkMagic
Configure ActiveSync and connect the PC running Powernet Twin Client Manager to the Pathfinder Ultra . According to the documentation included with the Paxar/Monarch Pathfinder Ultra, install the Powernet Twin Client and Microsoft ActiveSync software. Connect to the Pathfinder Ultra.
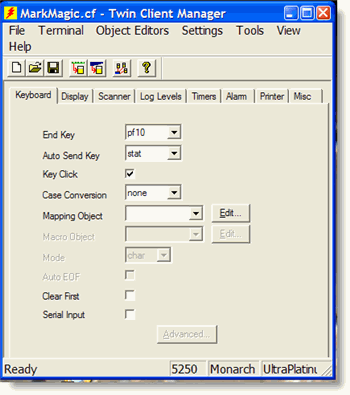
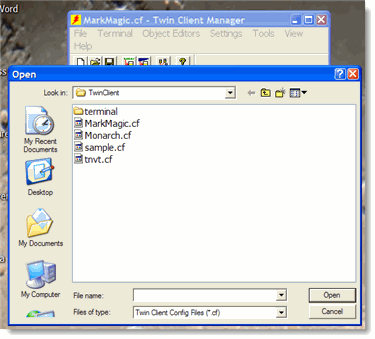
From the File menu, choose Open and select the MarkMagic.cf configuration file which is available from CYBRA Support. Click the Open button.
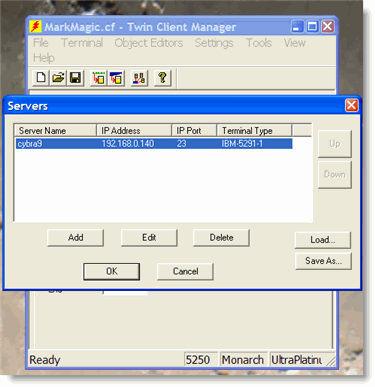
From the Settings menu, choose Servers. Edit the included iSeries entry by changing the Server Name and IP address.
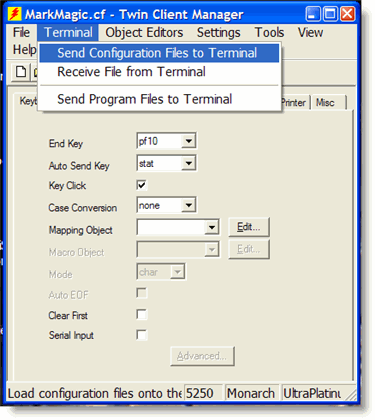
From the Terminal menu, choose Send Configuration Files to Terminal. After receiving the configuration firmware file update, the Pathfinder Ultra will reboot and be ready to communicate with your iSeries.
Use Symbol’s Mobile Companion which is running on the taskbar on the Pathfinder Ultra. Click the Mobile Companion icon and you have full access to the radio settings. Configure the radio to communicate with your 802.11b wireless network by setting the network ID and WEP keys as necessary.
Setting MarkMagic Parameters to use the Pathfinder Ultra
MarkMagic makes it easy to print to the Ultra. You must initiate the print command from the Ultra. We recommend that if you are developing labels for RF printing, you should work near both a fixed display station and an Ultra. The MarkMagic label design work is done on the wired terminal.
Create a format using the MM9446 device type . Keep in mind, that the width of the printhead is 2″, but we recommend that you specify a format width no greater 1.8″.
Next, create a MarkMagic Print Job specifying RF network type SYMBOLHP for the RFNETWK parameter in the Print step of the MarkMagic Job.
When you are ready to print a format layout, pick up the Ultra, and run the MarkMagic print job.
Check your work and return to the wired terminal to modify your designs and switch back to the Ultra terminal to test your label printing.


