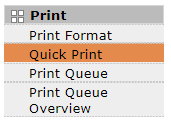
Quick Print
The Quick Print menu option will open a new browser page that directs you to an interactive printing interface. You start by choosing a format to print with. Various pull down menus show you all user libraries, printer drivers and formats to choose from. You then choose a destination printer along with any other Advanced print options you want to use. The best part about the Quick Print interface is you can manually create your own variable data to print with by using MMPI's built in spreadsheet flat file generator tool.
Below is an initial view of the Quick Print interface once it is loaded. The first step to running a print is choosing your format.
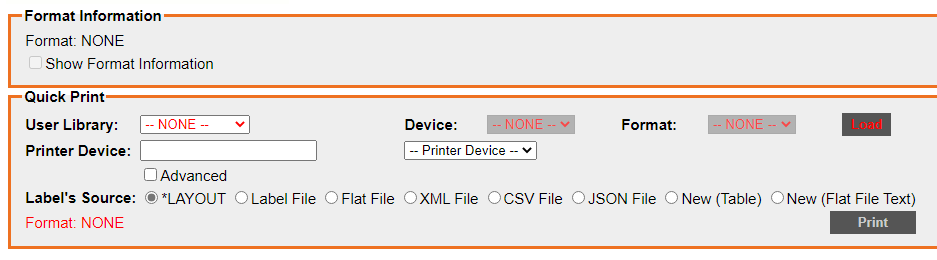
- User Library - Choose the MMPI user library where the format is stored. For more information on user libraries, please see Manage User Libraries. The default user library, if you did not create any of your own, is MRKMAGDTA.
- Device - This is the MMPI print driver the format is designed under. After choosing the user library, you will be shown only device names of formats that exist in the library that you chose. For example, one of the more popular Zebra drivers in MMPI is ZTZ140XI12.
- Format - Once a device is chosen, you will then be able to choose the format. You will see a list of only formats that match the device that was picked.
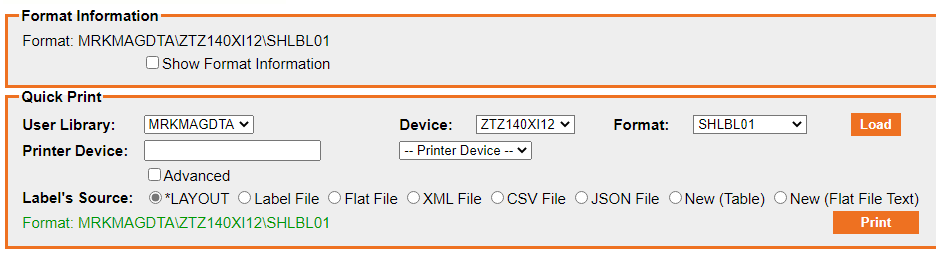
Click the Load button once all three menus are correct. This will load your format into memory. You should see a message in green that shows your format is now loaded. If you would like to see more detailed information about the loaded format, you can click the checkbox 'Show Format Information'. This will open up a box that displays general information about the format such as length and width, margin sizes, unit of measure, etc.
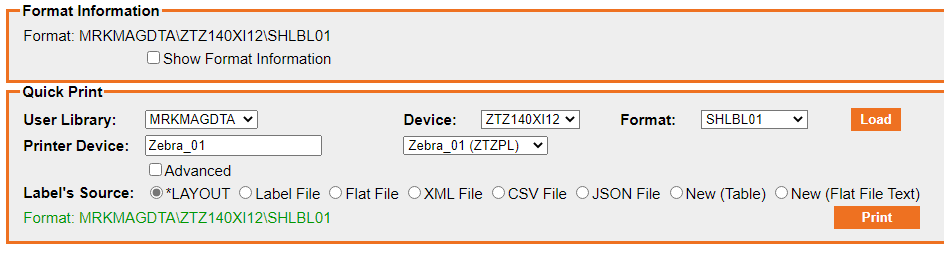
Next, you can choose your destination printer using the Printer Device menu. For a printer to show up in this menu, it must first be configured in MMPI using the Maintain Printers menu. The pull down menu will show various output options as well as a list of physical printers that match the driver type of the format loaded. For example, if your format is designed under the Zebra ZTZ140XI12 driver, then only Zebra printers that you have added to Maintain Printers will be shown in the Printer Device menu.
Choosing a Printer Device:
- *PDF - Rather than printing directly to a physical printer, a PDF or image file (JPG, GIF, PNG) can be generated. The PDF file can also optionally be emailed. Various extra Advanced print options must be provided to complete this process, though. Please see the Advanced Quick Print section for more information. NOTE: A valid license for the PDF Email add-on option must be installed in order to create and send PDF emails.
- *FILE - Rather than printing direct to a physical printer, MMPI can send the generated printer language code to a file or display the generated printer code directly on the screen for you. Various extra Advanced print options must be provided for this to happen. Please see the Advanced Quick Print section for more information.
- Printer - The destination physical printer where MMPI will direct the output to.
Once a Printer Device is selected via the menu, it will show in the field to the left.
For more advanced printing options such as sending a PDF email or using a PrintTransformer RuleSet, you must specify the options to do so via Advanced Quick Print.
Before running the actual print, you must provide a file that contains valid source data for the format you are printing or manually create some new source data using the New(Table) editor. The various choices are described below. After making the selection for "Label's Source", press the Print button to execute the print process according to all of the options you have selected.
- *LAYOUT - This option is selected by default. A *LAYOUT does not use any variable source data. Field names will show in places where variable data would normally be. Static information such as lines, boxes, *HEADING text and graphics will print. *LAYOUT is intended to be used mainly for test printing your format.
- Label File - An uncommon way of printing data to a format in MMPI. This is a feature that was migrated from our MarkMagic version on the IBM System i platform. Using the JMagic designer, there is a way to create "label files" (essentially new SQL tables) that store data in the H2 database that will print on a format. The label files are stored in a user library. You would specify the label file library and name here.
- Flat File - Use this option to select an already created flat file that exists on your PC. Click the previous link for more information on creating proper XML files for use with MMPI.
- XML File - Use this option to select and already created and properly formatted XML file on your PC. Click the previous link for more information on creating proper XML files for use with MMPI.
- CSV File - Use this option to select and already created and properly formatted CSV file on your PC. Click the previous link for more information on creating proper CSV files for use with MMPI.
- JSON File - Use this option to select and already created and properly formatted JSON file on your PC. Click the previous link for more information on creating proper JSON files for use with MMPI.
- New (Table) - Use this option if you want to manually enter variable data to print on your format using an intuitive spreadsheet interface.
- New (Flat File Text) - Use this option if you want to create or edit the raw flat file data string directly.