CSV File
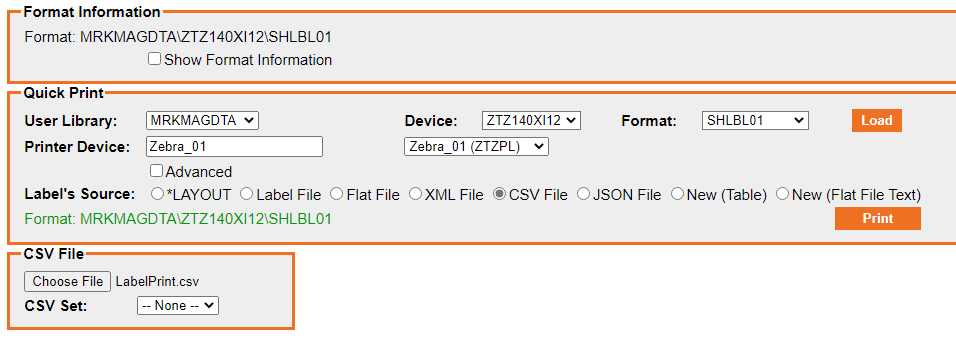
Use the CSV File option if you already have a properly formatted CSV file with valid data in it stored on your PC. Use the Choose File button on this screen to browse your PC and choose the desired CSV file.
A CSV file, or comma separated file, must be generated following a specific format in order to execute a valid print in MMPI. Unlike Flat Files where the entire data string must be spaced out to match every variable field on the format, with CSV files, you only need to specify field names and data for those format fields you wish to print. This makes it much easier to create valid input data files for formats that contain a large number of Data fields.
Example CSV in raw text view:

Example of the same data opened in an Excel spreadsheet:

The above example is a properly formatted XML file that prints three labels. The first row in any properly formatted CSV file will always be the desired field names from the format you are printing. You can also specify any Batch Control Fields here. The order you define the fields and which fields you choose does not matter with respect to how they are defined in the MMPI format. The order of the data in the subsequent rows, however, does matter and must match the order of the fields as defined in the first row. Each row below the initial row of field names will represent one printed label or form.
After choosing the CSV file from your PC using the Choose File button, click the Print button to execute the print process according to all of the options you have selected.