Print Queue
Before being able to view the general Print Queue page, the MMPI print queueing system must first be turned on. By default, the MMPI print queue service is disabled. To enable the print queue system, go to the Print Queue Overview page and simply place a check next to 'Print Queueing On'.

Once enabled, you will see the general Print Queue page.
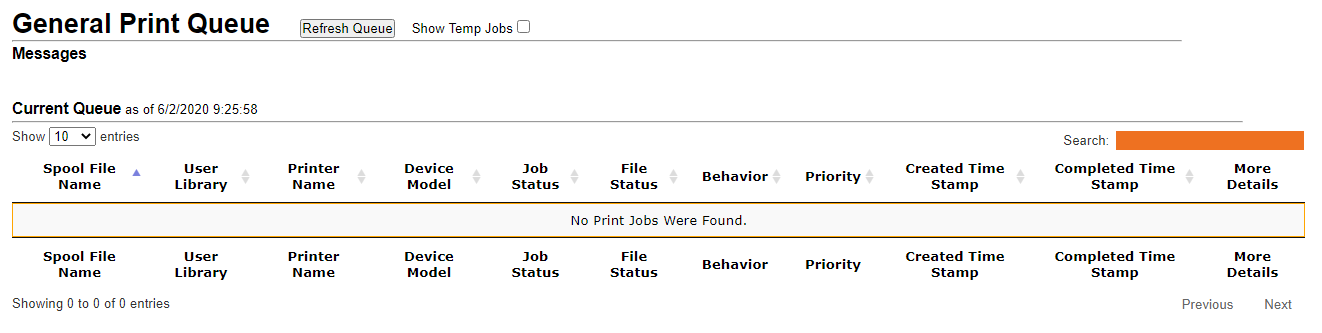
Whereas the Print Queue Overview page displays each printer queue as its own listing, the general Print Queue page seen here is a live view of all printer queues combined into one list.
By default, the page will refresh by itself every 60 seconds. Click the Refresh Queue button to immediately refresh the page view of queue. You will see a message in green under the 'Messages' section stating that the queue was reloaded. The Current Queue date and time will list the date and time the queue was last refreshed.
To view Temp jobs, click the checkbox next to 'Show Temp Jobs'. Any print jobs with a file status of TEMP will be displayed in the list. For more information about temp jobs, please see Add Printer and Print Queue Overview.
By default, the page shows only the first 10 print jobs in the queue. If you want to see more, use the pull down menu next to the 'Show entries' option to see 25,50 or 100. If there are more print jobs than the current view can show, use the Next and Previous buttons on the bottom right to view the extra pages.
To search for a printer job, simply start typing any information about that job in the Search box on the upper right. The list will automatically filter to show matching queue names as you type.
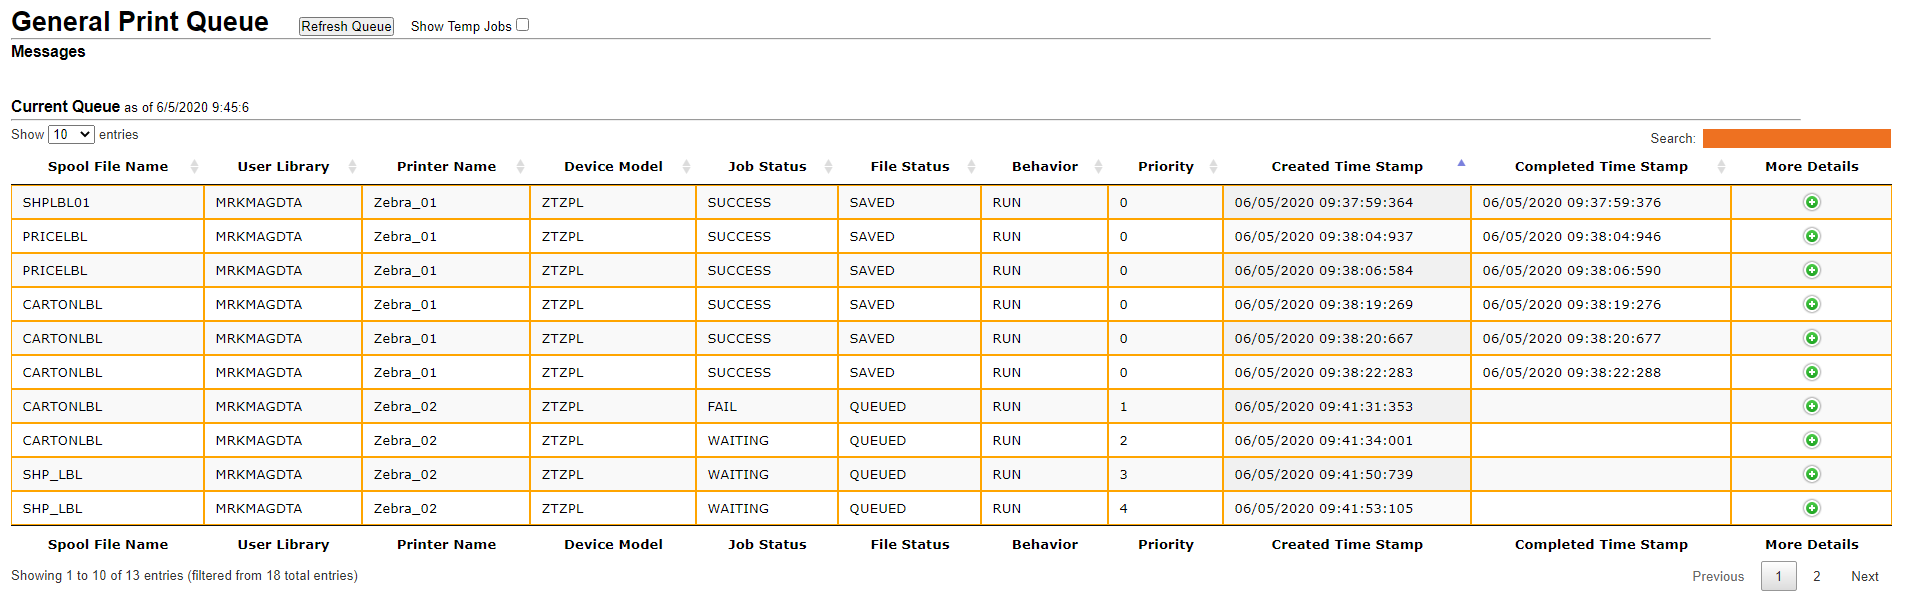
The table is arranged in columns showing important information about each printer job. Each column can be sorted up/down using the small arrows next to the column headers. By default, the list is sorted alphabetically by Spool File Name.
- Spool File Name - The name of the print job. This will be the MMPI format name that was specified in the print command call.
- User Library - The MMPI user library where the format that was used to print is stored. For more information on MMPI user libraries, please see Manage User Libraries.
- Printer Name - The name of the printer associated with the print queue.
- Device Model - The MMPI print driver family that the format uses. For example, the ZTZ140XI12 print driver (along with many other MMPI Zebra print drivers) all belong to the ZTZPL device model. The print queue manager compares this value with the device model value of the printer you are printing to and if they match, it will allow the job to print. If the device models do not match, the file status will be set to INVALID and the behavior will be put on HOLD.
- Job Status - The general status of the print job. WAITING, FAIL, SUCCESS, etc.
- File Status - The current status of the data. SAVED, INVALID, TEMP, etc.
- Behavior - Whether or not a job will be sent to the printer. Behavior can be HOLD or RUN. Jobs set to HOLD will not be sent to the printer even if the queue is active (not paused). They will stay in the queue until the days limit is reached to delete the job or from other user interaction. Only jobs set to RUN will be sent to a printer.
- Priority - An internally managed value that keeps track of the order of jobs in the queue. The MMPI queue manager will process jobs based on their priority level with 1 being the highest. There is a 0 priority that is reserved only for finished and invalid jobs.
- Created Time Stamp - The date and time the print job was created in the queue.
- Completed Time Stamp - The date and time the print job was completed. Only successful printed jobs will be tagged with a completed time stamp. Any other job in the queue that has not been sent to the printer for whatever reason (printer offline, INVALID device model, etc) will not have a completed time stamp.
- More Details - Click the green + symbol to expand the print job and show all details for for the print job. Other control options are available through use of buttons found in this detailed panel. Information about this section is found below.
For a good description of the 'More Details' section, please see the Go To Queue page.