Importing Print Monitors
Up next in the import process after Printer Jobs are Print Monitors. If there are no Print Monitors Jobs in the xml file, then the process will skip to the Review Marked Objects screen of the import process. Print Monitors are individual folder monitors configured via the Print Monitor menu. Print Monitors that you create in that menu are saved as their own objects and must be exported and imported from environment to environment just like any other MMPI object. Print Monitors give MMPI the ability to constantly watch folders on the server for the creation of new flat files and then automatically run a Printer Job when a flat file is detected. It is an easy way to integrate MMPI into your operations without the need to write a custom print program that handles all of the interactions with MMPI.
NOTE: Even though you will chose a specific library to import into as the last step in the process, Print Monitors are global and not stored in any separate user library.
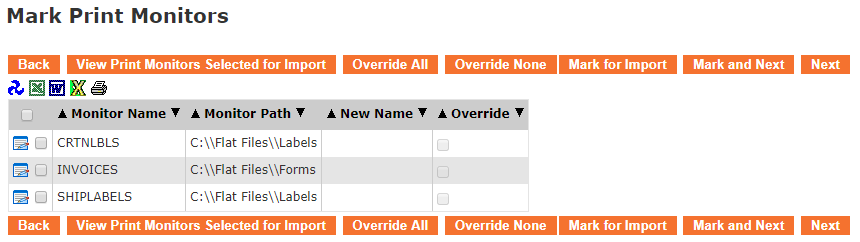
- The Back button takes you one screen back in the import process.
- The View Print Monitors Selected for Import button will show a list of Print Monitors that have already been "marked" for import by having had a check mark placed next to them and the Mark for Import button pressed.
- The Override All button will select all check boxes in the rightmost Override column. Having override selected is necessary if you are importing over existing Print Monitors with the same name. This makes it so the imported Print Monitor will overwrite any existing Print Monitor with the same name.
- The Override None button will clear out all check boxes in the rightmost Override column.
- The Mark for Import button will select the Print Monitors that have a check mark to the left of them and prepare them for importing. You will stay on the present screen allowing you to select more Print Monitors for import.
- The Mark and Next button will select the Print Monitors that have a check next to them, prepare them for importing and will immediately take you to the next MMPI object screen for importing.
- The Next button will skip over the current MMPI object type without importing anything and take you to the next object screen for importing.
Importing all Print Monitors with overwrite:
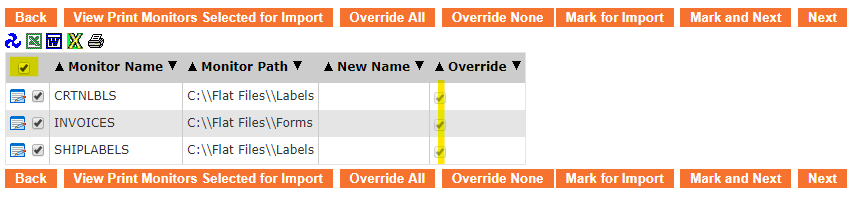
If you wish to import every Print Monitor in the list, you can place a check mark at the very top of the list in the header portion. To overwrite any existing Print Monitor with the same name, you must choose Override All to select Override for every Print Monitor listed.
Example showing "Select All" check mark at top of list with Override selected for each:
Individual importing with selective override and rename:
If there are existing Print Monitors with the same name and you wish to overwrite them, you must use the Edit Record  button and choose the Override option. If you want to import a Print Monitor but keep the existing Print Monitor with the same name, you must rename the imported Print Monitor by using the Edit Record button to change the name.
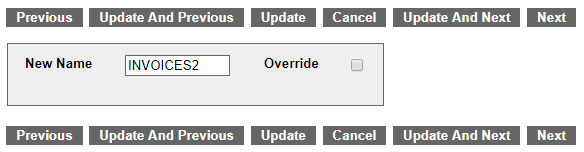
Click the Update button and you will see the new name listed in the table.
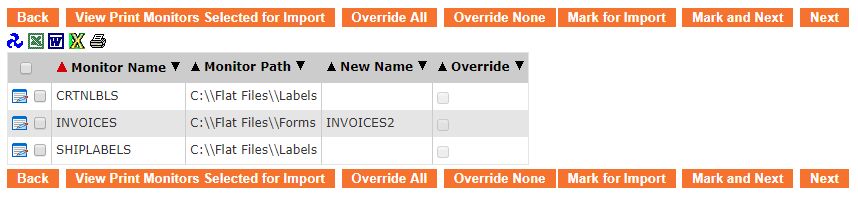
Once you have every Print Monitor checked that you want to import, along with any necessary overrides and/or renaming, click Mark and Next to be taken to the Review Marked Objects screen.
Proceed to Review Marked Objects.