Import Objects
The Import Objects screen walks you through importing individual MMPI objects from an XML file. The XML file used should be one created by a previous MMPI Export Objects process.
The utility steps you through individual lists of MMPI objects in this order:
- Formats
- Target Graphics
- Source Graphics
- RuleSets
- Printers
- Printer Jobs
- Print Monitors
Start the Import Objects process by choosing the file(s) to import from. Click the Choose Files button to open a standard file browser window allowing you to search your PC for the XML file(s) that you want to import from.

Multiple XML files can be selected if you wish to import more than one MMPI object from multiple files.
Example showing the Import Objects screen after choosing multiple files:
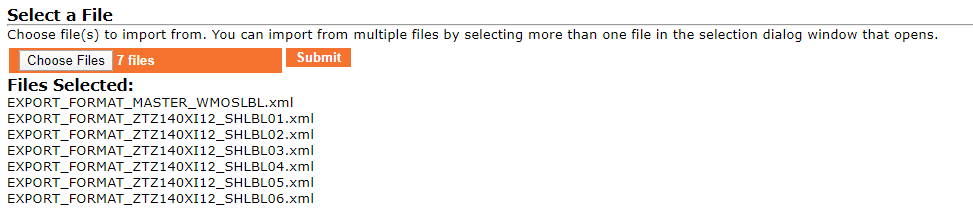
Click the Submit button after choosing the XML files to import from. You will be taken through various screens for importing the MMPI object types that are detected within the XML files you chose. For example, if only formats and a RuleSet are detected within, you will only see import screens for those two object types.
Quick tip on overwriting and renaming / renumbering during import:
In the tables on the following screens next to every MMPI object listing, there is an Edit Record  button. This will take you to a screen where you can provide a new name or number for that specific MMPI object being imported. There is also a check box option on that screen to select override for the MMPI object. The rename/renumber functionality is provided so that you can import an object while preserving the original object. Selecting the override checkbox will make it so the import will overwrite any existing MMPI object with the same name.
Proceed to Importing Formats.