Exporting Source Graphics
Up next in the export process after target graphics are the source graphics. These are the source JPG, PNG, GIF, etc images that were used when the target graphics were originally converted.
NOTE: If you exported a target image on the previous screen, the source image associated with that target image will automatically be marked for export on this screen. If this is the case, you will not see the source image in the initial list because it is already marked. Click the View Source Graphics Being Exported button to see the list of source graphics that have already been marked for export.
Example list of source graphics:
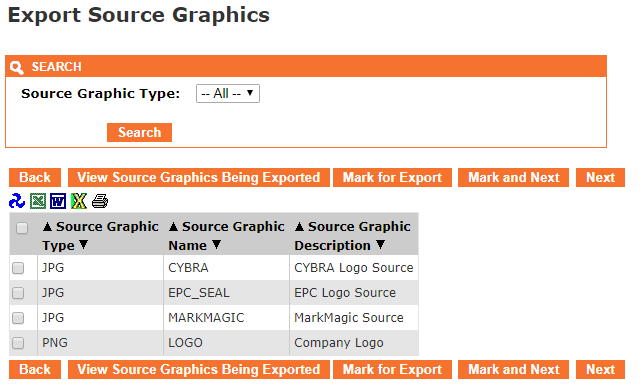
- The Back button takes you one screen back in the export process. In this case, it would take you back to target graphics.
- The View Source Graphics Being Exported button will show a list of source graphics that have already been "marked" for export.
- The Mark for Export button will select the source graphics that have a check next to them and prepare them for export. You will stay on the present screen allowing you select more source graphics.
- The Mark and Next button will select the source graphics that have a check next to them, prepare them for export and will immediately take you to the next MMPI object screen for exporting.
- The Next button will skip over the current MMPI object type without exporting anything and take you to the next object screen for exporting.
You can filter the list by Source Graphic Type by choosing a specific type in the list at the top. To export a source graphic, place a check mark next to it in the list. If you wish to export every source graphic in the list, you can place a check mark at the very top of the list in the header portion and it will select every check box in the list.
Example showing "Select All" check mark at top of list:
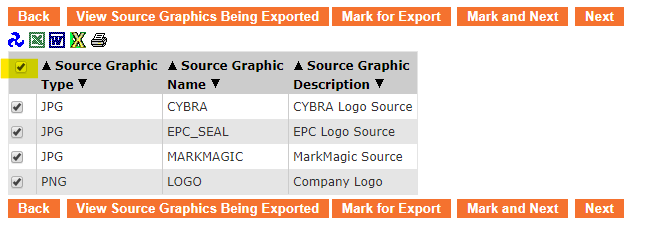
Once you have every source graphic checked that you want to export, click Mark and Next to be taken to a list of RuleSets for export.
Proceed to Exporting RuleSets.